手机主板层结构与过孔原理详解
This article provides professional technical guidance for repair technicians. All procedures should be performed with proper tools and safety precautions.
⚠️ Safety Warning: Always ensure proper ESD protection when working on electronic devices. Disconnect the battery before performing any repair work.
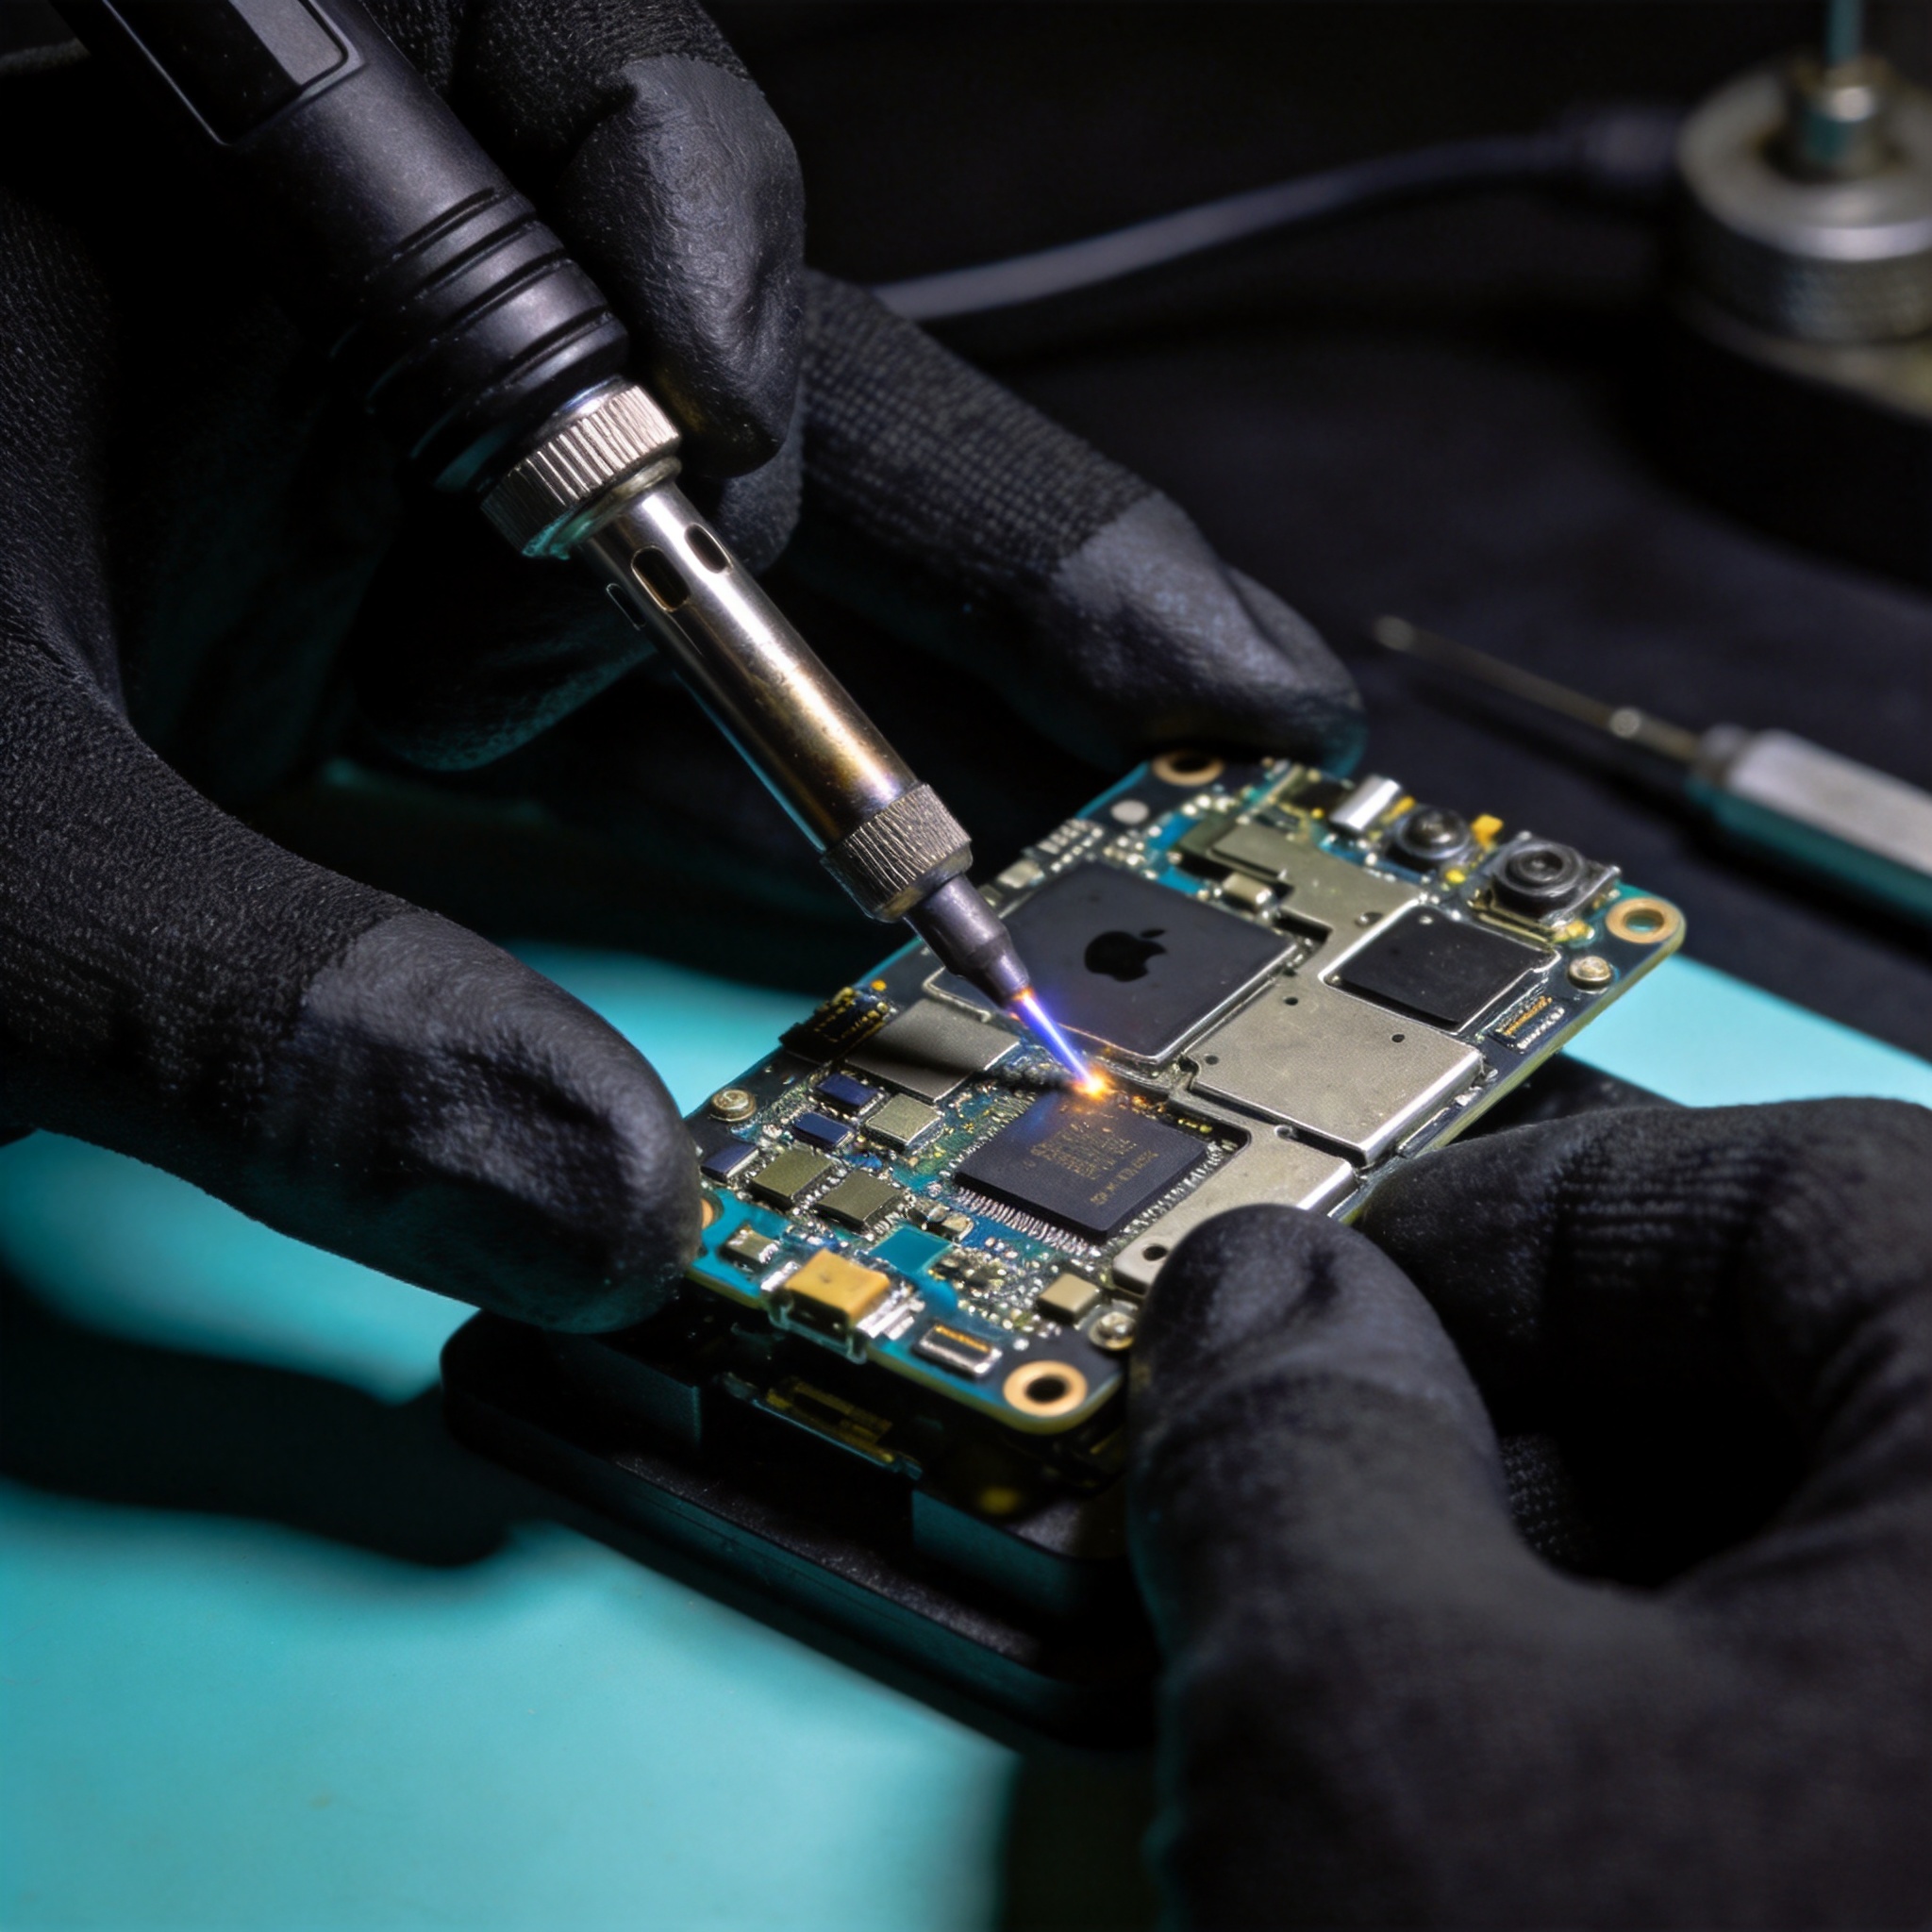
Preparation
Before starting any repair, ensure you have the following tools and materials ready:
- 🛠 Precision screwdriver set (P2, P5, T5, etc.)
- 🧤 Anti-static mat and wrist strap
- 🔥 Temperature controlled soldering station
- ⚡ Digital multimeter
- 🔬 Stereo microscope (for board level work)
- 💨 Heat gun with temperature control
Step-by-Step Diagnosis
Systematic diagnosis is the key to efficient repair. Follow these steps in order:
Step 1: Visual Inspection
Examine the device for physical damage, water damage indicators, and obvious component damage.
Pro tip: Use a stereo microscope with 10-40x magnification for initial inspection. Many faults are visible at the component level.
Step 2: Power Testing
Connect DC power supply and observe current draw pattern to identify fault type.
Power On Current Pattern Reference:
- 0mA → No power path (fuse / diode / connector)
- 20-50mA stable → PMIC working, CPU stuck
- 100+mA rising → Short circuit somewhere
- Jumping current → Boot attempt failure
Step 3: Voltage Measurement
Use multimeter to check key voltage rails and identify missing voltages:
| Voltage Rail | Expected Value | Location |
|---|---|---|
| PP_VCC_MAIN | ~4.3V | Battery connector |
| PP_VDD_MAIN | ~3.0V | Near PMIC |
| PP_BATT_VCC | 3.7-4.4V | Battery input |
Step 4: Component Testing
Test individual components like capacitors, resistors, and ICs.
Common Fault Points
Based on repair statistics, the following table shows common failure points and their typical causes:
| Fault Symptom | Common Cause | Difficulty |
|---|---|---|
| No power, no current | Power IC failure | Medium |
| Boots but no display | Display IC or backlight issue | Medium |
| Rapid battery drain | Short circuit on some rail | Hard |
| Overheating | CPU/GPU related | Hard |
| Touch not working | Touch IC or connector | Easy |
Recommended Tools
For this type of repair, we recommend the following tools from our store:
- Aigehensin Pro Soldering Station — Temperature controlled, 2s rapid heating
- Aigehensin Digital Multimeter Pro — Auto-ranging with smart diagnosis
- Aigehensin Stereo Microscope 7X-45X — Perfect for board level work
Safety Notes
- Always disconnect battery before performing any repair work
- Use proper ESD protection at all times
- Work in a well-lit and clean environment
- Follow manufacturer specifications for temperature settings
- Keep a fire extinguisher nearby when working with hot tools
Found this article helpful? Give it a 👍 and share it with fellow technicians!